After quite a lot of time thinking through what my plans might be for the specific bands and modes with the Portsdown 4 I’ve spent a few hours over a couple of days drilling and nibbling holes in the panels. When I first built it a couple of years ago I only managed to make the cutout for the 7” touchscreen and install a sheet of aluminium in the closure to act as a chassis to mount the Raspberry Pi.
I am now – almost – able to connect it up and put the lid on it. I’m also finally installing the shutdown components for the Pi. I still have to work out how to mount one of the DSI to HDMI PC boards on the chassis and against the panel to enable a PiCam to be connetced via a regualr HDMI cable. This will probably involve a piece of aluminium to hold the tiny PCB and HDMI socket against the rear panel.
The beauty of it all is that once the process has some momentum, things can move quickly.
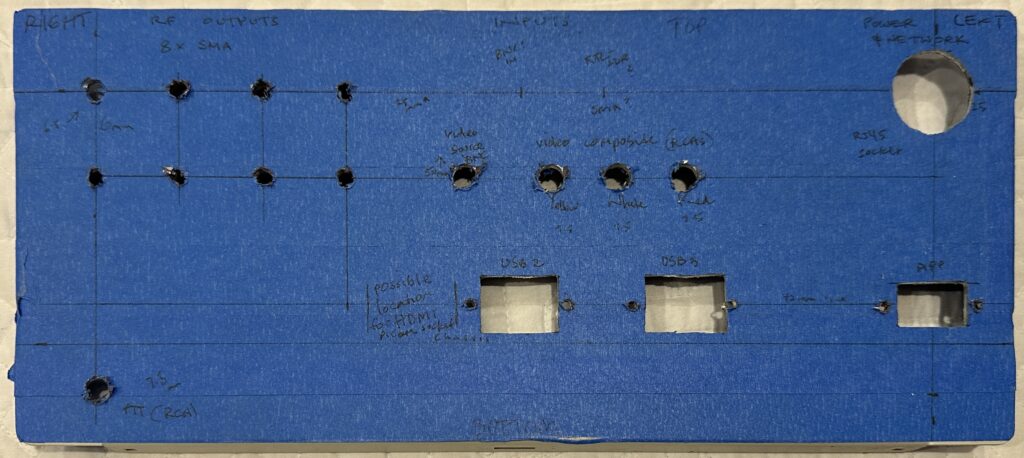
I’m glad I was able to spend some time planning both the front and rear panels’ layouts. But I’m sure there’ll be many re-thinks and more probably, mistakes along the way, in spite of all the planning and thinking!
Leave a Reply